Craft Works - Let's Get Creative!
-
that's a damn shame you haven't done any leather work in a while. you are really good @ it, but I understand those bikes aren't going to ride themselves
-
My belt hook is too small for my samurai belt, so I tried some other options:
1. Well, that's ridiculous

2. DIY para cord loop

Option 2 is okay for the moment, but I think it's time to order some leather, a clasp and some thread to start my first leatherwork project. -
A bit of recent street art, a joint project with a friend (toothfairy.tm on instagram)
-
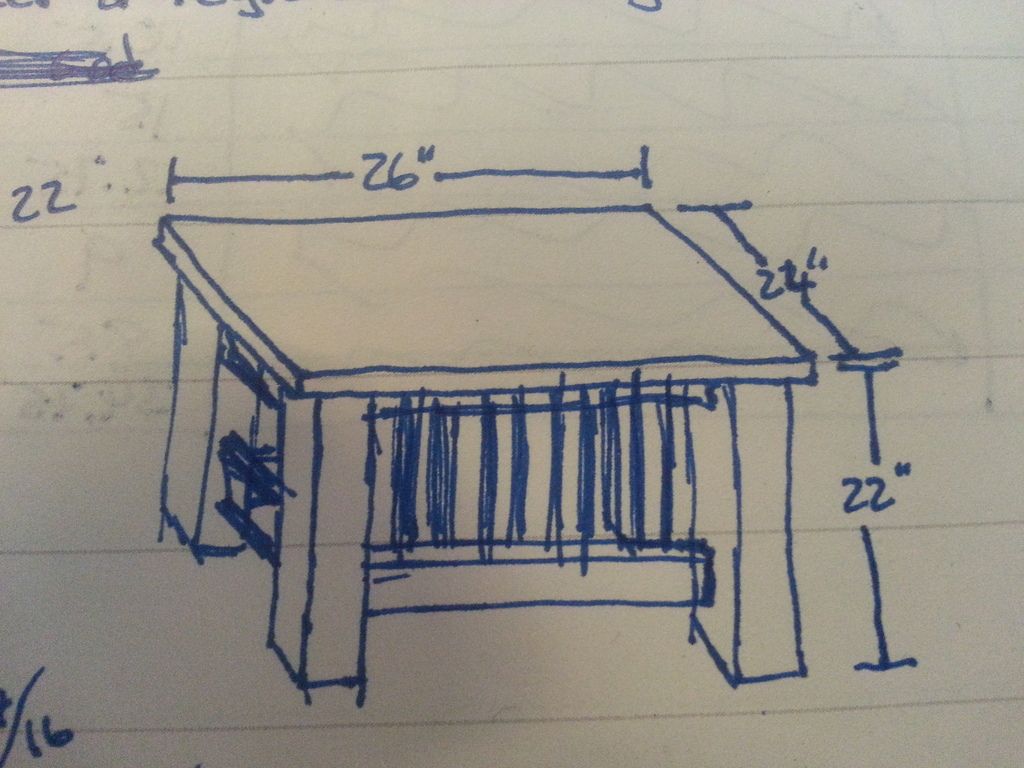
Finally finished a home improvement project I've been working on intermittently for a few months now. As with most of my projects, it didn't come out entirely as planned, and there are several things I'd do differently, but it still worked out ok.
From this:
To this:
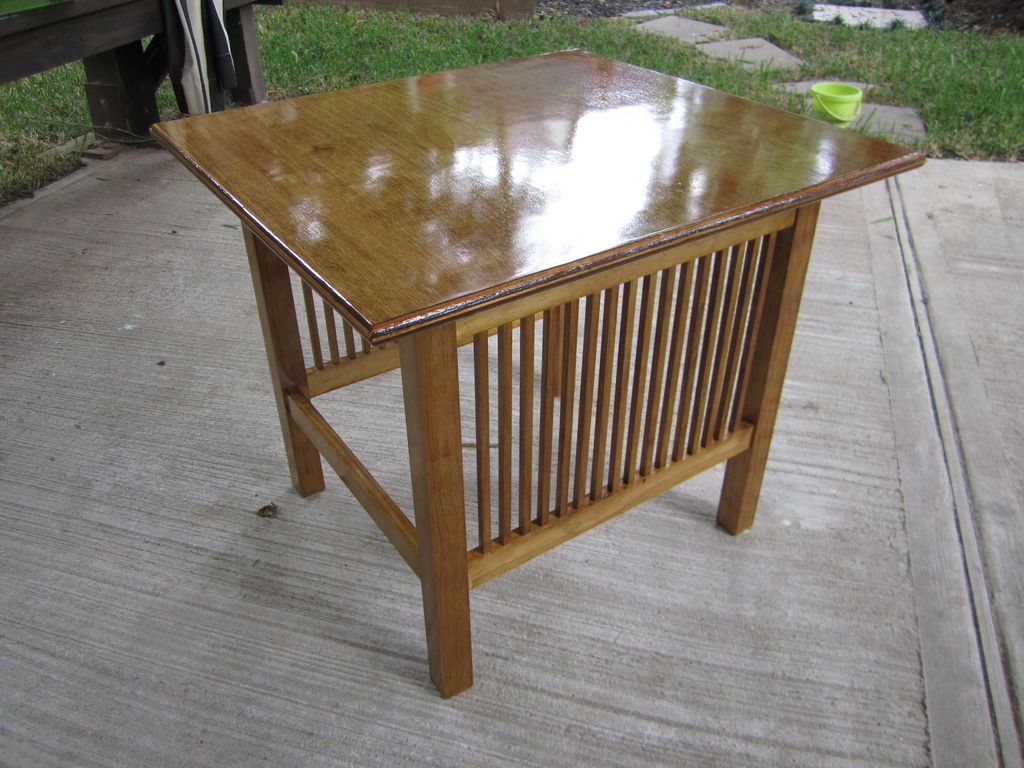
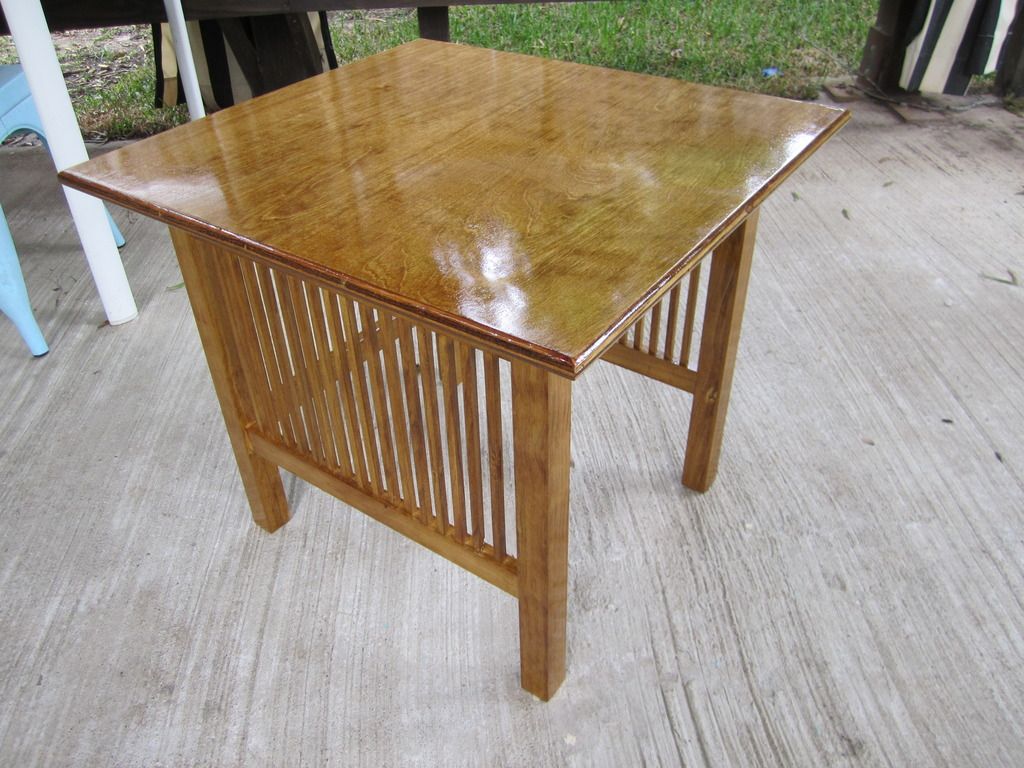
Color is most accurate on the last picture. There's an outside chance I'll change the top, (I'm not in love with the plywood, aesthetically) but until then, I have a place to put my drinks…
-
My belthook did not fit over my heavy Samurai belt, so I decided to make something by myself. I also made a lanyard for my keys at my new job + a bracelet. Had a lot of fun, now I need more tools and more leather.

-

-
The perfect bedside table. Congrats….
I just need another box, you gonna get a mail in a month or so

-
Yeah, but there is still something waiting for my payment at the IHUK-HQ

Step by step. -
Manufactum wanted 89€ for the matching board for my rail. I said feck off and bought some wood and did it myself:

Simple design, but very useful:

-
Tell us about the boots Chris…..

Since Giles asked so nicely… Back at the beginning of September, I decided to take a class to learn how to make cowboy boots.
The class is taught by Carl Chappell, a master boot maker, in St. Jo, Texas, which is about a 5 1/2 hour drive from my home in Houston. He teaches three classes a year, a maximum of six students per class and is assisted by another master boot maker, Mike Kearnes. My class had three students, so we got nearly one-on-one direction. It's pretty intensive, running from 8am to 8pm Monday through Saturday for two weeks. At the end, you leave with a pair of boots that you made yourself and (theoretically, at least) the knowledge to make more.
First, we learned to draw stitching patterns and then add in stitching, one row at a time. The progression looks like this, more or less.

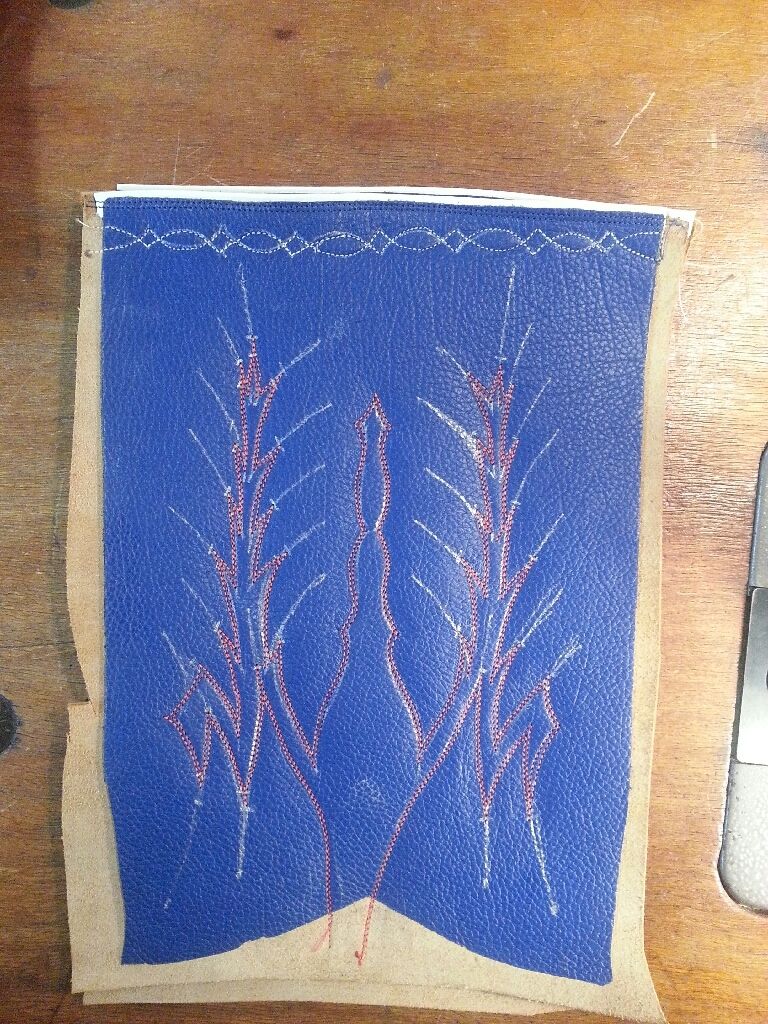

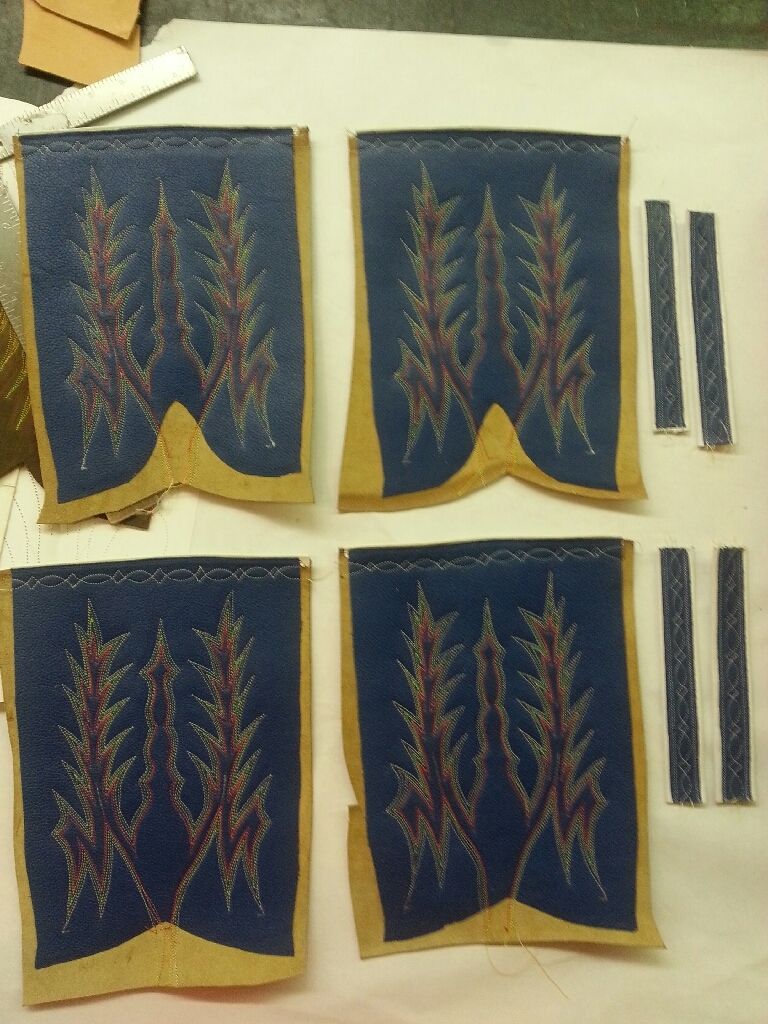
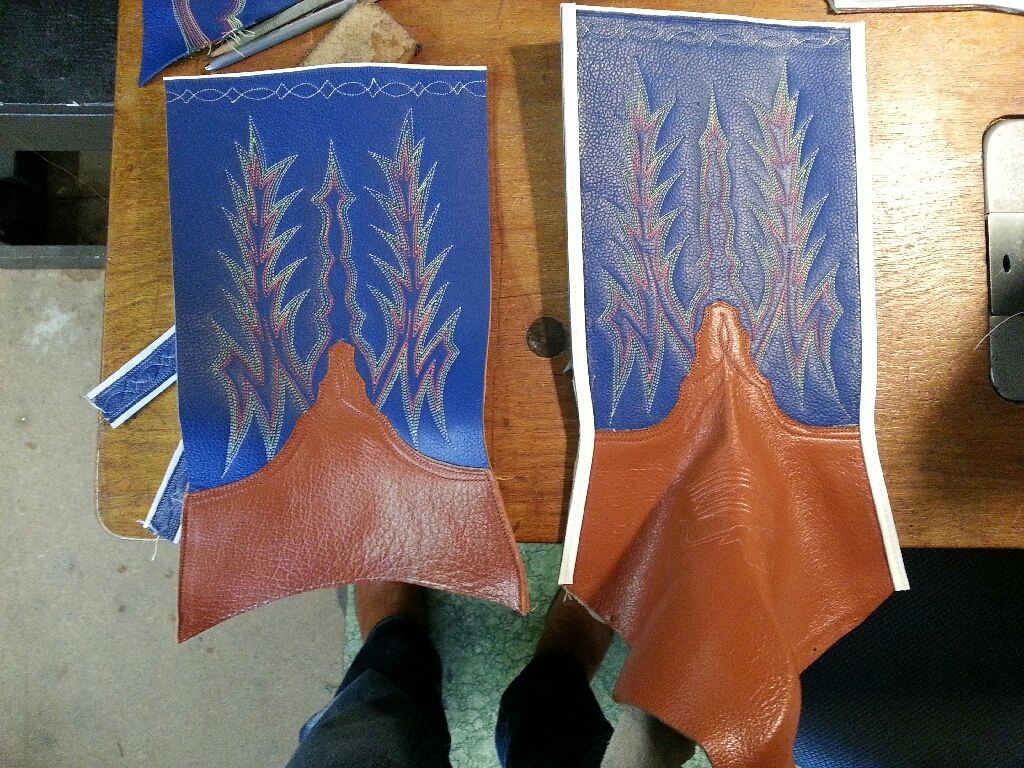
Next, you make the vamps, which have to be soaked in water and stretched into shape. Then, you stitch in the toe “bug”, which is a decorative design to help control wrinkling during wear. After that, you attach the vamps and the heel counters to the tops

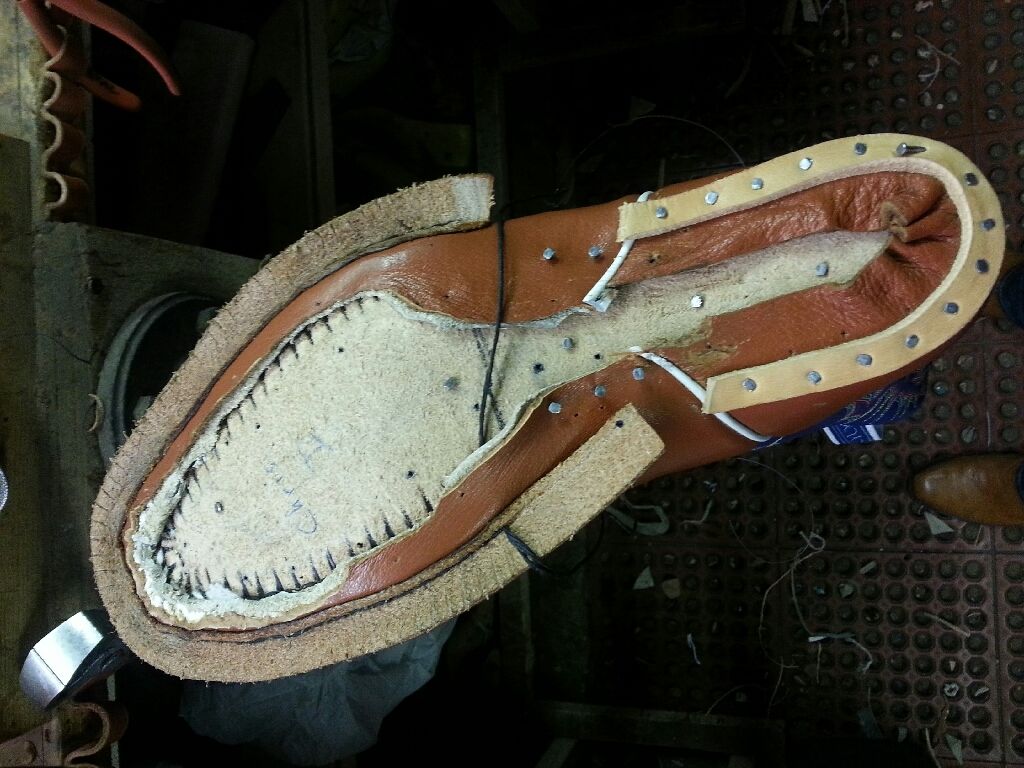
The appeal of custom boots is partially that they are custom fitted, so we learned how to measure feet and build a last to match, which involved grinding down and building up the stock factory form as needed. When that's done, you attach the partially made boot to it and then sew in a welt, put in a steel shank, and then peg the outsole onto the boot using wooden pegs.


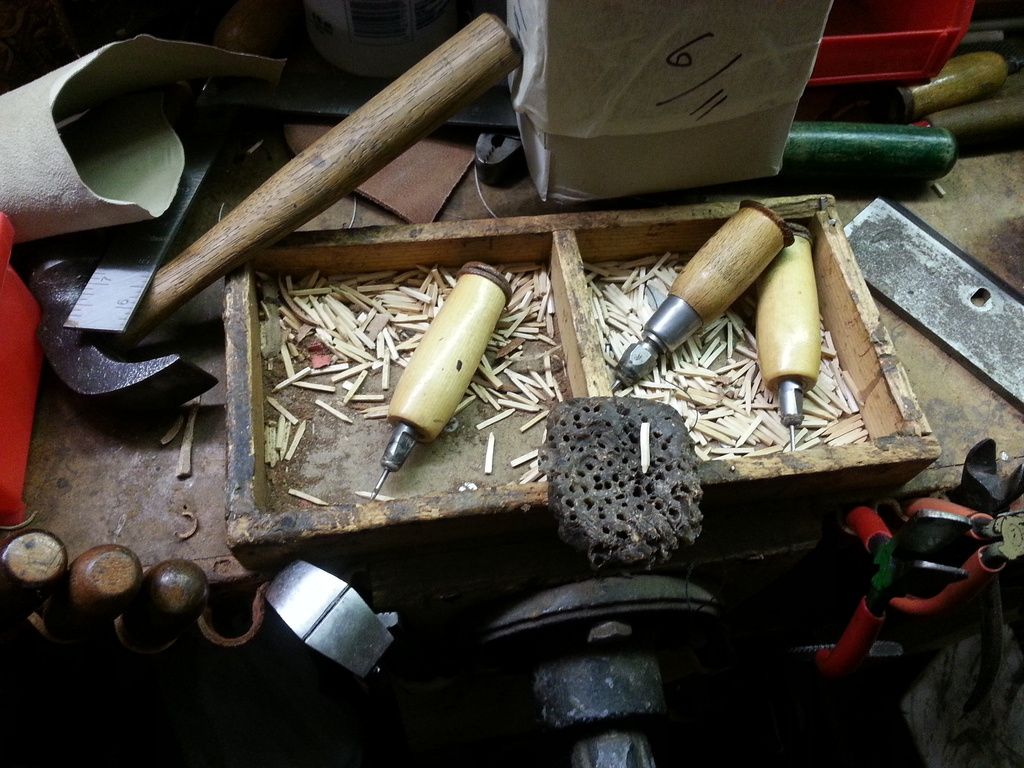
Finally, you stack the heels, one layer of leather at a time, then trim and shape it and do the final dyeing, inking and burnishing. If you have some time left over, and your teacher decides your boots need additional personalization, you can even do some decorative tooling on the soles.
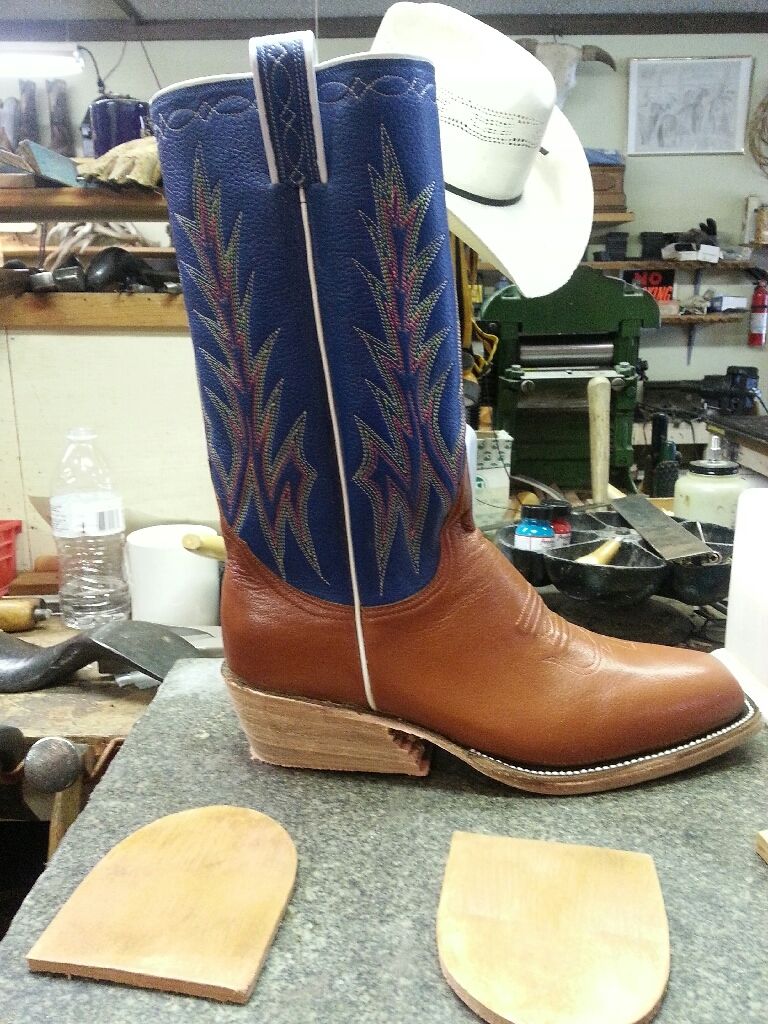
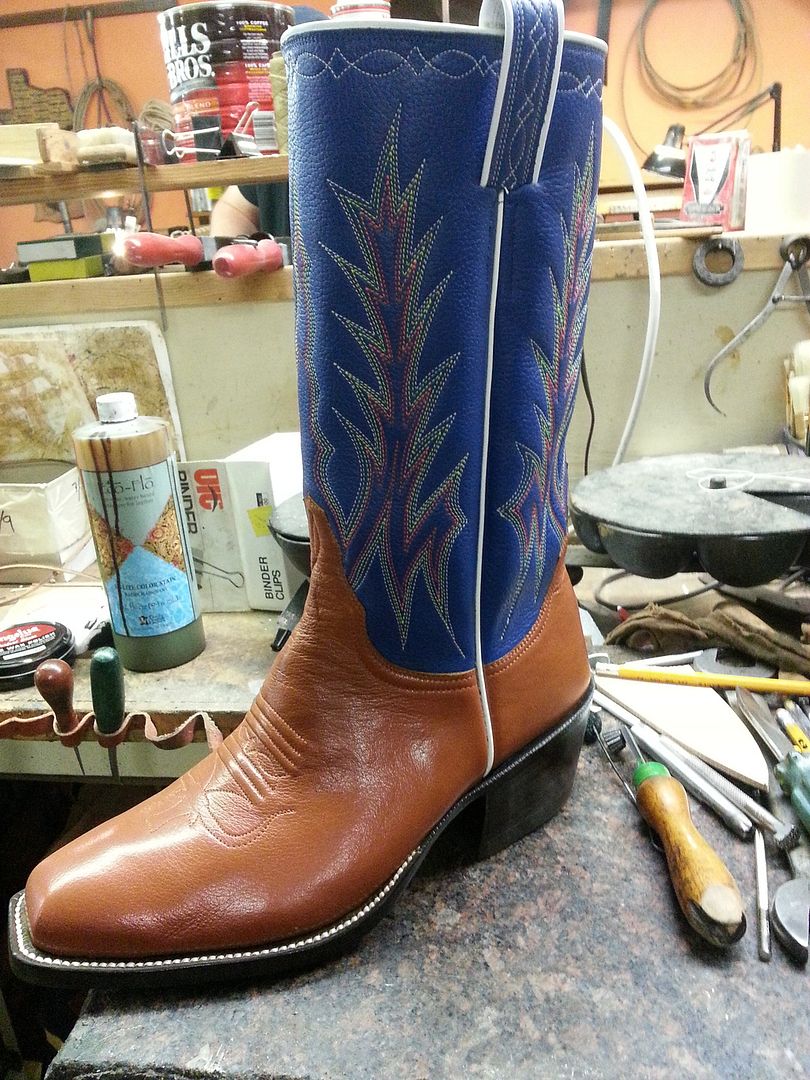
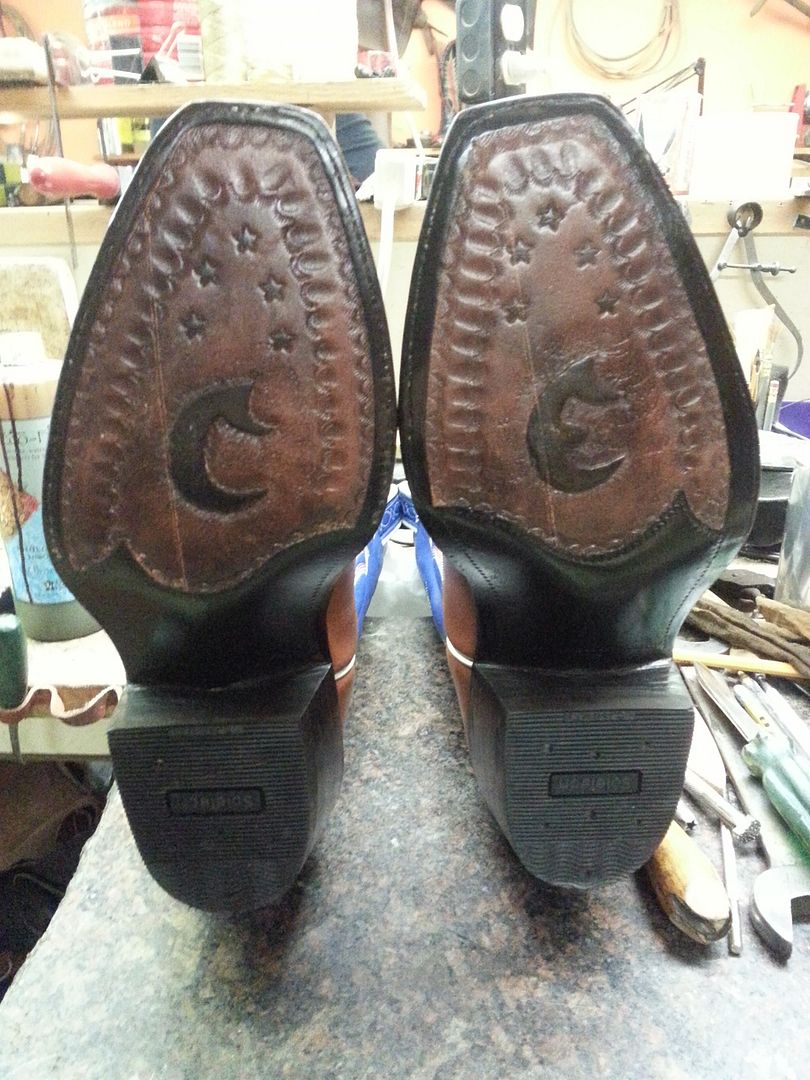
It was a really fantastic experience, and I can't wait to build my next pair. It was fascinating to build things the traditional way and to understand how radically different that is from modern factory methods of production. We used techniques that often dated back a hundred years. Most of the machinery was at least 50 years old, and I did most of my sewing on a machine that was designed in the 1890s. Learning how to make something that is functional and beautiful and completely unique is amazing. It's hard for me to express how much I loved the whole process, even the parts that were tedious and exhausting.


